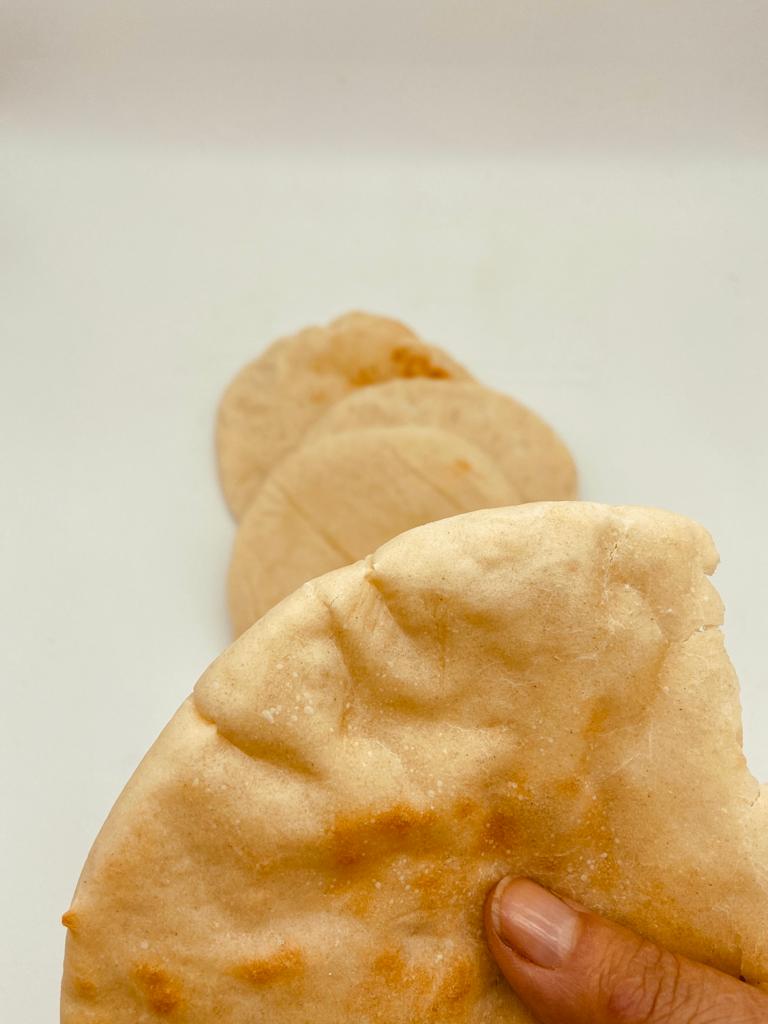
My mother and her family immigrated from Israel to America in 1959. My grandparents, great grandparents, and a number of generations further back had always run bakeries. Unsurprisingly my Grandfather’s visa was approved because America was looking for more skilled bakers. Bread was in fact the path to my grandparent’s American dreams. My grandfather spent his first few years in America baking bread for that new American invention, sliced bread. Though sliced bread was first sold in 1928. It was after World War Two that sandwiches built on sliced bread was sold in vending machines and my Saba made that bread.
But at home, my grandparents missed the bread of their home, the pita, single straight forward and easy to make. This prehistoric bread didn’t make its way to America until the 1970s. Until then my Saba who worked nights baking sliced bread and spent the daylight hours selling auto parts, always made time to bake pita and savory Syrian biscuits called ka’ak.
Though you can pretty much buy Pita anywhere, making your own is simple and hugely satisfying.
- 450g (1 pound) strong white (bread) flour
- 450g (1 pound) whole wheat or plain (all-purpose) flour
- 21g (2 tablespoons + ½ teaspoon) salt
- 600ml () lukewarm water
- 7g () active dry yeast
- ¾ teaspoon granulated sugar
- 28g (2 ½ tablespoons) olive oil
- In a large mixing bowl or the bowl of a stand mixer fitted with the dough hook. Place both flour and salt and mix together.
- In a large measuring jug place lukewarm water, yeast, and sugar mix to combine and let sit until mixture looks foamy or some bubbles appear on the surface, about 5 minutes.
- Add the olive oil to the yeasty water, and with the machine running on the lowest setting, allow the mixer to knead the dough on the lowest setting for 3 minutes, then increase to medium and knead for 4 more minutes. If doing this by hand, just keep on kneading on a very lightly floured surface until you have strong gluten structure but the dough is still moist. Avoid adding too much flour as you go. The best way to do this is to use a bench scraper to help lift the dough of the surface.
- Place the dough in a large bowl that has been greased with a bit of olive oil, make sure to coat the entire surface of the dough in olive oil. Cover the bowl tightly and allow it to rise in a warm place until doubled in size about 60 minutes.
- Punch out any air from the dough and knead for a minute or two on a lightly floured surface. Divide into 12 equal pieces. Line up the pieces of dough in the order you cut them, as you will want to work sequentially giving each piece of dough the maximum resting time in between each action.
- Starting with the first piece of dough you cut, shape each piece of dough into a ball. To do this place the piece of dough on the surface, place the palm of your dominant hand over the dough, make your fingers into a claw shape around the dough and then opening and closing your fingers, lightly press the dough into the surface at the same time rolling your palm in a clockwise motion. Once the dough is ball-shaped, repeat with remaining dough.
- Using a rolling pin roll the dough out so it is no more than ½ cm (¼ inch thick) and place on a baking sheet that has been lined with baking paper. You will be able to fit 4 pitas per baking sheet. Cover each pita filled sheet with a clean tea towel, and let rest 20 minutes.
- HEAT OVEN NOW (or earlier if it takes your oven to get to its highest temperature. The oven should be at 260℃ (500℉).
- Bake one tray of pitas at a time, starting with the one you rolled out first. For 4-5 minutes until the pitas have puffed up. Remove from oven and repeat with remaining trays.
Pitas are best served the day they are made or freeze as soon as they have cooled down, wrapped in aluminum foil.


